Hey there! Tired of replacing those short-lived coin cell batteries so soon? Well, hold onto your screwdrivers because your luck has changed!
The Adventures of Over-Enginerding
Tired of seeing the “Lo” message too often and constantly replacing batteries in my “bathroom” scale, decided to “enginerd” a solution. Needed a black to fit the coin cell space and then and suitable rechargeable battery. Or what I have on hand. Figured the message showed when the battery was below 3.0v so a Li-ion battery (using a 14500 — AA size) should be safe from full discharge.
This is more info than what I shared on Instagram (link) and Reddit (link), and some folks wanted a bit more!
The Fun Begins
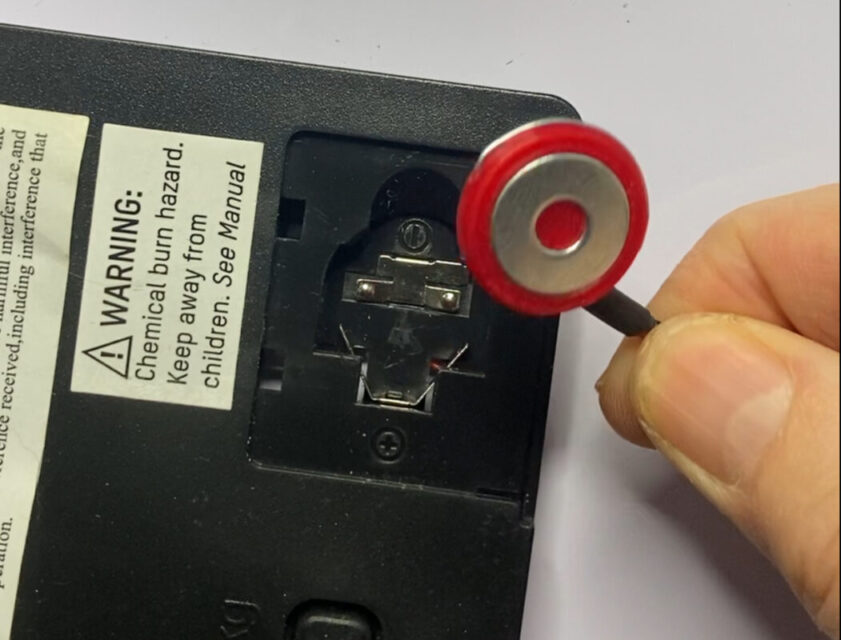
First designed printed and the battery adapter and wired it. Soldered the ground to the M5 washer and then a lead to the bare wire and shrink tubing to hold it together.

Taped the wires to the battery and lo and behold it worked. After a day or two with no issues, onto the battery case. Just needed a single AA sized holder. Canceled Amazon after Christmas, and have a 3D printer so let’s do it.
Measure and model. But what can I use for contacts? steal from old electronics? Or just need some bare wire. No paperclips around but 5/4ths dollar store ornament hangers.
Bend some u-shapes but how about the contact wires? Soldering is put away, but wonder if twisting and screw through the coated wire and then through the u-shaped wires would I get a good contact?
Hey it worked!

One thing, the battery was a tight fit so made a lever to help pop it out. The hinge pin is just a bit of filament.
Posted a quick video of the build on Instagram.
Since some folks asked
I’ve made the STL files available for download so you can print the parts yourself. All parts are in proper orientation.
0.2mm layers. Only need supports for the lever.
No warranty implied. Use at your own risk. It’s worked for me (I have a nice Bambu P1P), but your results may vary. Contact me if you want custom builds.
Tips appreciated! @idig3d through Venmo if you wish.
